Showing posts with label vegetarian. Show all posts

Wednesday, February 5, 2014

vegan white bean and kale soup

winter is determined to stick around and make us miserable.  while the northeast gets to dig out of snowfall after snowfall, we just get colder and colder.  it is true that it does get cold in nashville and in winter, it is not uncommon for the temps to drop to the 20 degree mark.  but consecutive days with single digit lows and highs in the teens, that is not normal.  luckily, having a pot of soup simmering on the stove is all it takes to bite back the chill.

i love a good white bean soup but i find that most recipes are heavy on the beans and almost always include a large portion of smoky bacon or ham products.  what i was craving this afternoon was a good old bowl of italian style white bean and escarole soup;  a hearty broth served with beans, a little vegetable and a lot of bitter greens.  since i didn't have any "shcarole," i had to settle for some kale and quite honestly, it was just as good.  to keep it vegan and heart healthy, i used vegetable broth as a base, diced mushrooms to give it a "meaty" texture (and an umami factor) and to add a little authenticity, a small amount of smoke flavor.  it was all i needed to chase away the chill.

vegan white bean and kale soup
makes about 1 1/2 quarts
(about 4-12 ounce servings)

2 tablespoons olive oil
1 medium onion, diced small
2 carrots, peeled and diced small
1 cup fresh button mushrooms-about 4 large ones, diced small
2-3 cloves garlic, minced
1 can white beans; navy, great northern or cannellini (or you can cook 1 cup dried)
4 cups vegetable broth
4 cups fresh kale, torn and loosely packed in the cup
1/4 teaspoon dried thyme
pinch or two of red pepper flakes
salt and pepper to taste
1/4 to 1 teaspoon smoke flavor-to your taste

if you will be cooking your own beans, do that before starting the soup.  when the beans are ready, then begin cooking the vegetables.  if you are using canned beans, drain and rinse them before adding them to the soup.

in a 4 quart pot, heat the olive oil over medium heat.  add the onions, carrots and mushrooms and saute until the onions are translucent.  add the garlic and saute for a minute or two.  add the beans, broth, thyme and red pepper flakes, reduce the heat to medium low and simmer the soup until the carrots are soft.  add the kale and smoke flavor and allow to simmer for a few minutes to wilt the kale.  season with salt and pepper and serve with freshly baked bread.

Wednesday, August 28, 2013

carrot-ginger dressing

back in june, i attended a food styling workshop hosted by the nashville food bloggers.  it was not only a fun way to spend a saturday morning, it was very informative.  we learned how to style a salad.  sounds easy doesn't it?  well, while it isn't rocket science, it is complicated in that you have to arrange things just right or it doesn't look appetizing and won't photograph well.

the class was led by teresa blackburn and she showed us two techniques.  first, how to plate an actual salad and all of the components in it and then how to tell the same story with just a forkful of food.  my photos below will tell my story.

when we go out to japanese restaurants, my favorite dish always ends up being the salad served while waiting for sushi to arrive.  more than once, our daughters, and sometimes my husband too,  have passed their bowls to me.  weird, isn't it?  what could be so wonderful about iceberg lettuce covered in pureed carrots?  well, for me, it's the dressing.  there has always been something about that dressing for me.  it must be the combination of fresh, raw carrots with ginger and soy sauce, some of my favorite flavors.  recently, i found a recipe for carrot-ginger dressing from saveur magazine.  after making a few subtle changes, our own honey for the sugar and a little sesame oil, i had more than a pint of dressing to  keep me fed for the next week!  then i realized it was a chance to try and photograph a salad using my newly acquired skills.
for the actual bowl of salad, i attempted to use props with an asian flair to them.  i carefully arranged the salad but left it undressed.  next i staged the shot, set up the bounce card on a tripod, put the camera on another tripod and began taking test shots.  finally, i dressed the salad and took some shots.  meh...so disappointing.  i fussed and futzed and so on and so forth.  nothing.  no matter what, it just looked blah.  the lighting was not very interesting either.  it was late afternoon heading to early evening and the light was bordering on harsh.  i almost gave up completely but then had a thought; what if i broke it down and told the story of the salad with just a forkful of food?

it was if the stars suddenly aligned.  the lighting changed and it made the tomatoes and the dressing glow.  the shot isn't perfect, but i didn't expect perfection-just a chance to practice the skill.  and of course, to eat a small boatload of salad with carrot-ginger dressing.

saveur carrot-ginger dressing
makes about 4 cups dressing

1 cup vegetable oil-i poured 2 tablespoons sesame oil into the measuring cup and then filled it with canola oil
1/2 cup rice vinegar
1/4 cup soy sauce
1 tablespoons sugar-i used wildflower honey from our bees
1 1/2 teaspoon freshly grated ginger
8 ounces carrots, raw-peeled and chopped into pieces
6 ounces onions, diced

the directions call for processing all of the ingredients in a food processor until smooth.  i did this but my food processor left it too chunky for me, i dumped it in the blender and blended it until smooth.  season with salt and pepper if desired.  serve over wedges of iceberg lettuce.  

Monday, August 12, 2013

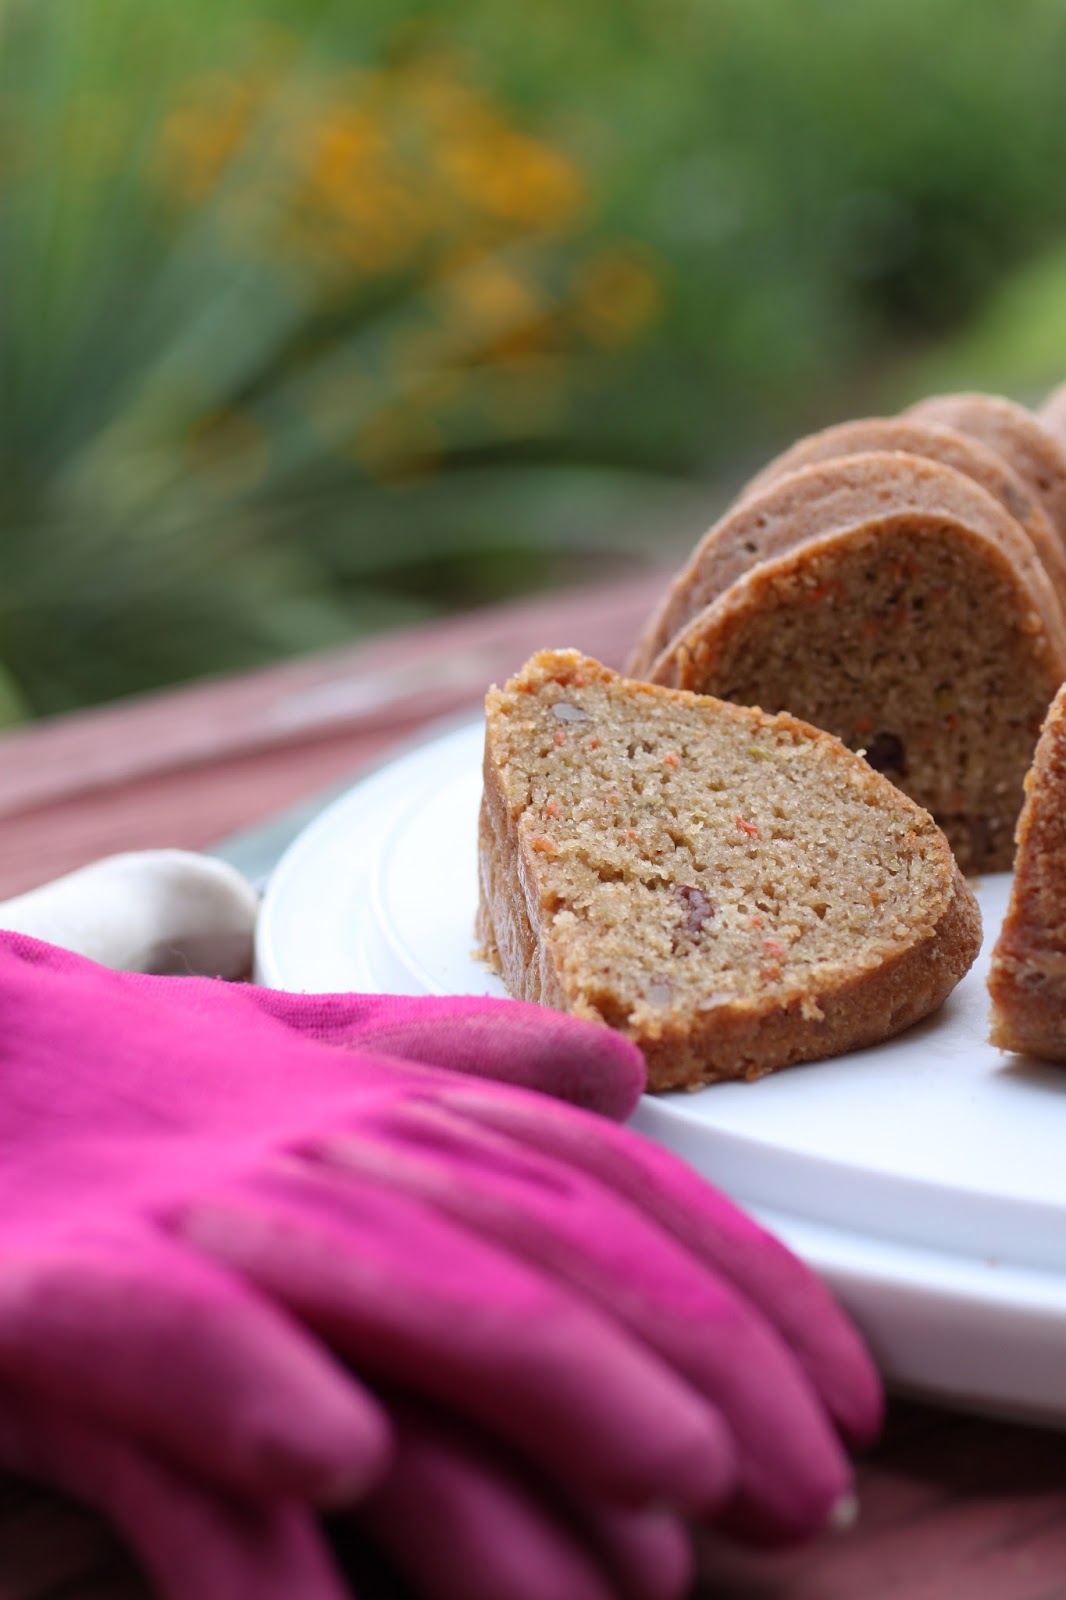
gardening for cake: zucchini-carrot bundt cake

sometimes, you have to resort to bribery.  to attract volunteers to the demonstration garden, we tell perspective volunteers that there will be cake to snack on.  we also tell them that there are plants and produce to share but the cake seems to get their attention quicker.  but baking a cake every week means that i have to find a recipe and secure the ingredients.  every now and then, someone comes out to the garden with a dietary issue that can make it especially challenging.  we recently had a few volunteers who followed a vegan diet and that makes baking cakes a real challenge.

believe it or not, butter adds moisture and flavor to cakes as well as texture from the fat.  eggs strengthen the structure and help add volume by holding the air that is mixed in during the baking process.  milk and buttermilk add flavor as well as moisture-try substituting water sometime, you will taste the difference.  let's not forget, a true vegan diet also means no honey since the harvesting process kills bees and honey adds moisture, helps retain moisture with its hygroscopic nature and honestly, it tastes really good in a cake!  when you have to eliminate these items, it can make baking a good cake difficult, even for a pro.
with the garden in full swing now, there are so many possibilities.  berries, figs, peaches, carrots, summer squash and let's not forget an abundance of herbs to choose from.  in my own garden, i had a few zucchini and some carrots to harvest and they both work well in cakes.  since this is a vegan recipe, i had to make a few changes to the original recipe.  the current darling of the diet world is coconut.  this recipe utilizes both coconut oil and an unsweetened coconut milk beverage rather than the traditional kind in the can.  to find these ingredients, check the natural food section of the grocery store.  the oil is sold in jars and is semi solid at room temperature.  the coconut milk beverage is packed in quart sized cartons and is sold alongside soy and rice milk.  substituting the eggs is tricky.  to get a nice texture with a small crumb, i find that ener-g egg replacer works the best and this can also be found in the same section of the store.

and for those of you that are not interested in baking a vegan cake, this recipe can be quickly converted.  substitute and equal amount of butter for the coconut oil, buttermilk for the coconut beverage and 3 large eggs rather than the equivalent amount of egg replacer.

vegan zucchini-carrot bundt cake
makes 1 bundt cake serving 10-12

1 medium to large carrot
1 zucchini
1/3 cup pecan pieces
4 1/2 teaspoons ener-g egg replacer (or 3 large eggs)
2/3 cup coconut oil (or 10 tablespoons unsalted butter, soft)
2 cups light brown sugar
1/2 teaspoon salt
3 cups all purpose flour
1 tablespoon baking powder
1 tablespoon pumpkin pie spice
1 cup unsweetened coconut milk beverage (or 1 cup buttermilk)

preheat the oven to 350.  grease and flour a bundt pan and set aside.  grate enough carrot and zucchini to measure 2 cups.  place the pecans on a baking tray and toast until fragrant, about 5 minutes.  let them cool before using.  whisk the egg replacer into 3 tablespoons warm water and allow it to sit while you begin mixing the batter.

cream the coconut oil with the brown sugar and the salt.  the oil will liquefy as it mixes so it is not necessary to mix for more than a couple minutes.  add the egg replacer and mix well, scrape the bowl too.  sift the flour, baking powder and spice blend over the batter.  fold it in a few times.  sprinkle the coconut beverage over the top of the batter and fold together.  sprinkle the zucchini and carrots over the top and fold together completely.  scrape it into the prepared pan.  bake the cake until a cake tester comes out clean, about an hour.  allow the cake to cool in the pan for 15-20 minutes and then turn it out onto a rack to cool completely.

Monday, August 5, 2013

eastern mediteranean pizzas; a tuesdays with dorie recipe


tomatoes are in season, finally.  we were so late at getting them into the garden due to a cool, wet spring that i was beginning to think that we would never have them.  this recipe was the perfect way to use a few ripe ones. 

 the simple recipe calls for few ingredients.  yeast is stirred into water.

 whole wheat flour is added and stirred until silky smooth.

 the sponge is allowed to rest and develop flavor; mine sat for 5 hours.  when i was traveling last year, i brought home a shower cap from the hotel i stayed in.  they are perfect for covering a bowl of dough and they are reusable.

 after resting, all purpose flour is added and stirred in.  once the dough is too stiff to stir, it is kneaded.

 eight to ten minutes later, the dough is ready to rise and double.

 the topping is simple too.  onions and garlic are sauteed.  the recipe calls for the addition of ground lamb but i didn't want to buy a pound of it for just the needed four ounces; i used a vegetarian ground meat substitute.

 tomatoes from the garden were diced up and added.  after a few minutes of sauteing, they needed to be drained of the juices.  finally, traditional spices were added.

 can you believe the size of this tomato?  have i mentioned how much i love my garden?

 the dough doubled in less than two hours.

 the dough is rolled out by hand.  the directions call to use a well floured surface.  my advice, go lightly with the flour or the dough will not cooperate and will slide around the table.

 the topping is spread around the dough and into the hot oven they went.  i baked them on a stone.

 they baked up quickly.

 the recipe calls for half the dough, i made pita bread with the rest.  i used a cast iron skillet and "baked" them on the stove top.

 the rounds of dough puff up slowly in the skillet.

 suddenly, they will expand

 and you have, pita pockets!

perfect for sandwiches and so much more!  to see what the other bakers came up with, check out the tuesdays with dorie page.  to participate, buy the book, baking with julia.

Tuesday, July 16, 2013

summer vegetable tart; a tuesdays with dorie challenge

this week, we made a vegetable tart using phyllo dough for the crust.  i knew i had a package lurking in the freezer and i decided to use it rather than buy a new package.  should have just bought the new one...this dough, even though it thawed in the fridge for a day, was not going to cooperate.  it came apart in pieces.  there was no way to get the required 4 sheets and cut them in half.  there was no way to make a shell using 8 half sheets, layed in an overlapping manner.  my shell was a total hack job and i am certain i used more than 4 sheets.
and that folks, is as pretty as it gets.  the directions called for 1/2 a cup of clarified butter.  i simply melted 3 tablespoons and and honestly, it was more than enough-i used about half.  after prebaking the shell, i worked on the filling.
banana peppers from the garden, portobello mushrooms, onions, spinach, garlic, a few cherry tomatoes and a handful of basil, oregano and thyme.  to keep the tart from weeping excessively, i cooked it slowly over low heat.
we watch our cheese consumption here and i am not a goat cheese fan.  this tart had about a cup of blended feta, fontina and romano cheeses, most of it sprinkled over the top.  a quick trip under the broiler gave it a little bit of a melt but not much.
it was mostly vegetable, perfect for summer.  honestly, i would rather have this on a pizza crust with a little white sauce.  the phyllo dough crust just didn't do much for me.  it certainly was not easy to serve-it was hard to cut cleanly, the crust was not strong enough to support the weight of the filling.  the cheese did not glue it together either.  from a cookbook authors point of view, it was easy to see why they did not include a photo, even a small black and white one; this thing was not pretty.  even so, my husband devoured it and declared it a success.  go figure...

to see what all the other participants made, check out the tuesdays with dorie page.  interested in baking along?  get a copy of the book and jump right in, we'd love to have you join us!

Sunday, June 30, 2013

pina colada cake

this is the story of two cakes.  one a beautiful cake and the other, a shipwreck.  or train wreck, take your pick.  either name will work.

as i have mentioned before, i work in a demonstration garden with my fellow master gardeners.  it is my responsibility as the project chair to round up the volunteers and maintain the garden.  to do this, i have resorted to bribery; it works out so much better than whining and begging...since i go out to the garden every sunday morning, i have made it a habit to take a freshly baked cake with me.  sounds easy but it is a challenge to come up with a different cake each week.

the result is that every week, i create a new recipe.  sometimes, it is as simple as substituting an ingredient or two in an already successful recipe.  other weeks, it can be complicated as i attempt a new formula all together.  most of the time, the cake works out and i am able to make minor adjustments to use the next time i bake the cake.  other times, not so much.  this last time, really, really not so good.  and by not so good, i mean the cake was self destructing from the moment i took it out of the oven.
 don't you love the ski slope effect?  trust me, it went completely down hill from here...

as i stood there looking at my sad cake, i watched in horror as more and more of the sides of the cake just fell off and littered the tray.  so sad, so embarrassing.  how would i fix this?  there wasn't any time to bake another cake, i would just have to bring it out to the garden and hope for the best.  the best laugh that is.  shirley quickly dubbed it a total shipwreck.  and honestly, it was-no harm, no foul, just lots of giggles.  she and lynn were astonished that i could have baked this.  so as you see, even a pastry chef is capable of a shipwreck every now and then.  the mistake here, i tried to temper the acid level of fresh pineapple by adding a little baking soda to the recipe.  guess what, the cake did not need any tempering.

so this week, when i set out to bake a cake for my gardening friends, i had a new challenge; no eggs.  we have a couple of new volunteers that both follow a mostly vegan diet and the eggs needed to go.  luckily, they were both okay with a small amount of butter but definitely not the eggs.  and luckier still, i happened to have a package of ener-g egg replacer in the pantry and a supply of coconut milk and coconut oil.  i also had the determination of a baker scorned; i simply was not going to be pushed around by a cake.  no, i was going to win this thing, we were going to eat pina colada cake and it was going to be a good cake.  no ifs, ands or buts.  just a really good cake!

recipe notes:  to get a nice pineapple flavor, use fresh, ripe pineapple.  peel, core and cut enough of it into 1" cubes to make 2 cups.  place the pineapple in a food processor and pulse to produce tidbits.  do not let the machine run for more than 5 or 10 seconds at a time or you will quickly make puree.  put the pineapple tidbits into a mesh strainer and press out as much of the juice as you can.  reserve the juice for the syrup that is poured over the warm cake.  2 cups of chunks should yield 1 cup of tidbits and 1/2 cup of juice which is what you will need for the cake.

for the liquid in the recipe, i have used coconut milk.  to get the best texture without it being gummy or overly moist, use a light coconut milk or an unsweetened coconut milk beverage.  these will add moisture without excess fat that can make the cake greasy and heavy.

for the vegans, use all coconut oil(2/3 cup) and ener-g egg replacer(4 1/2 teaspoons mix to 6 tablespoons of warm water).  for the not so vegan, you can do as i did and use half unsalted butter(6 tablespoons) and half coconut oil(1/3 cup) with the egg replacer.  and for those of you throwing caution to the wind, you can also just use 3 large eggs, and all butter but you will have to use  coconut milk to be able to call it pina colada!

if you have never used ener-g egg replacer, it is easy!  follow the instructions on the box and use as you would real eggs.  place the powder in a mixing bowl, whisk in warm water and let it sit while you start mixing the recipe.

pina colada bundt cake
1 bundt cake serving about 12

*before starting-read the notes above!!!
1 cup fresh pineapple tidbits*
ener-g egg replacer equivalent to 3 eggs*
6 tablespoons unsalted butter, softened*
1/3 cup coconut oil*
2 cups sugar
1/2 teaspoon salt
3 cups all purpose flour
1 tablespoon baking powder
1 cup coconut milk*
1/2 cup pineapple juice
1/4 cup light brown sugar

preheat the oven to 350.  grease and flour a bundt cake pan.  place butter, coconut oil, sugar and salt into the bowl of a food processor.  pulse to combine.  with the motor running, pour in the egg replacer and process until smooth.  pour the mixture into a mixing bowl with the pineapple tidbits.  stir to combine and distribute the tidbits evenly.  sift the flour and the baking powder over the batter and fold it in a few times.  sprinkle the coconut milk over the top of the batter and fold together until no streaks of flour or butter remain.  scrape the batter out of the bowl and into the prepared pan.  smooth out the top and bake until a pick inserted comes out clean, about an hour.  while the cake bakes, make the syrup by combining the juice and the brown sugar in a small sauce pan.  bring the mixture to a boil, reduce it to a simmer and allow it to simmer for 2-3 minutes.  set it aside while the cake bakes.  allow the cake to cool in the pan for 15 minutes and then turn it out onto a rack to cool.  prick the surface of the cake with a fork and spoon the glaze over the top of the cake.  allow it to cool completely before slicing.

Friday, June 21, 2013

fruit salad sorbet

when life gives you too much fruit salad, make sorbet!  since i found our electric ice cream freezer at a local thrift store ($12.98 plus tax for a new machine!), i find reasons to make sorbet.  it is the perfect treat on a hot day.  we had a watermelon aging in the fridge so i combined it with a few kiwis and a basket of ripe strawberries.  you could use any combination, what ever you like to add to your fruit salad mixture; honeydew, pineapple, grapes, mangoes or any other fruit you might put into a salad.  there are no rules here, just fruit, ripe, juicy fruit.

for mine, i had about 4 cups of fruit chunks.  puree the fruit in a blender or food processor.  i liked the seeds in the puree-it added an interesting texture but you could strain them out if you like.

to make the syrup, combine 1/3 cup sugar with 1/4 cup of water and 1/3 cup of honey(corn or rice syrup for the vegan version!) in a sauce pan.  bring to a boil and simmer for 5 minutes.  remove from the heat, add 1 tablespoon of lemon or lime juice and allow to cool.  add the cooled syrup to the fruit puree and freeze according to the manufacturers directions.  my yield was about 2 cups of sorbet, but you could easily double the recipe if your machine is large enough.


Monday, June 3, 2013

vegan strawberry-banana ice cream

my attempts to change my diet are a little hit or miss.  got the cholesterol under control only to lose the vitamin d level needed for strong bones.  frustrating to say the least.  so, to change that, i am spending time outside in the garden during sunny hours and i am eating small amounts of dairy.  one thing i won't stop doing, eating sorbet and ice cream made without dairy products.  i recently picked a bowl of strawberries from the garden and mixed up a batch of ice cream using one of david lebovitz's recipes.

strawberry blossoms are pretty.  when you look at them close up, the center of the bloom looks like a little yellow strawberry.

when you grow strawberries, it is a constant battle between you and the critters who eat them with a healthy dose of praying the rain doesn't ruin the berries.  it is also a little like treasure hunting too.  each afternoon, i walk around the bed peeking under leaves in search of ripe berries.

a few notes about the recipe; strawberries soak up water like a sponge so wash them by giving them a quick dunk in a bowl of cold water and then pat them dry with paper towel to prevent waterlogging.  a ripe banana will add to the creamy texture but you can omit it and increase the strawberries to a pound and a half.  if you are not a coconut milk fan, use almond or hazelnut milk for a nutty flavor or switch it to rice or soy for a neutral flavor.  when you puree the mix, if you leave it chunky, there will be icy bits of fruit in the finished product-the fruit freezes to a hard texture because of its high water content, i recommend a smooth puree.  the added syrup and alcohol will also help prevent that rock hard frozen consistency but not much-let it soften before serving.

vegan strawberry-banana ice cream
adapted from david lebovitz
makes about 1 quart

1 pound fresh strawberries, rinsed and hulled
1 ripe banana-the riper it is the stronger the flavor
2/3 cup sugar
2 tablespoons rice syrup (or wildflower honey if you are not a true vegan)
1 can coconut milk
2 teaspoons dark rum
2 teaspoons lemon juice

combine the strawberries with the sugar and the syrup and allow it to stand for an hour to juice.  add the remaining ingredients and puree in a food processor or blender.  place in ice cream freezer canister and process according to the manufacturers instructions.  allow the final product to set in the freezer for several hours before serving.

Sunday, June 2, 2013

stuffed artichokes; almost as good as grandma's

growing up in northern new jersey, i knew a few things were certain.  you were likely to be catholic and quite possibly jewish if you weren't catholic.  if you were catholic, like my family is, then the chances that you were irish or italian were pretty high.  for me and my siblings, there was no either or, we are both irish and italian.  

like most families, our food traditions were firmly based around our ethnicity.  for my mother's family, my irish side, it was new england yankee all the way.  we can trace our roots back before the civil war on this side making the menu a traditional american one.  not so much on my father's italian side.  they came to america long after the civil war, just around the turn of the century making them italian americans.  my great grandmother held on to the tradition of an italian woman; she did a lot of cooking and almost all of it from scratch, including some of the pasta dishes.  the sunday dinners looked more like a feast and we won't even get started on holiday dinners.  ask my father about them, he can speak at length to the tradition of the seven fishes on christmas eve.  all i can remember is the jello she would make for me and all of the milano cookies my great grandfather would share with me.

my grandmother however was not a traditional woman.  she was a career woman.  having lost her husband to world war two, she went to work as a secretary in an office in new york city.  after my great grandmother passed away, she began cooking and sunday dinner became her responsibility.  what i remember most from those dinners; mountains of fusilli, meat balls so unbelievably tender, a salad served after the meal and it was often little more than chickory with red wine vinegar, the occasional plate of raw fennel slices, and artichokes filled with a moist bread stuffing.

more than once, i shared an artichoke with a friend who did not know what they were.  after explaining how you just scraped the leaves on your teeth to get the flesh, i mainly got odd looks and a hasty "no thanks".  when my children came along, i shared this with them as well.  luckily for me, my husband knew all about artichokes and enjoyed them almost as much as i do.  both of my girls will dig into one with out any coaxing.  so it shouldn't surprise anyone that we planted some in our garden.  earlier this week, i picked our first three and they were part of our dinner that night.
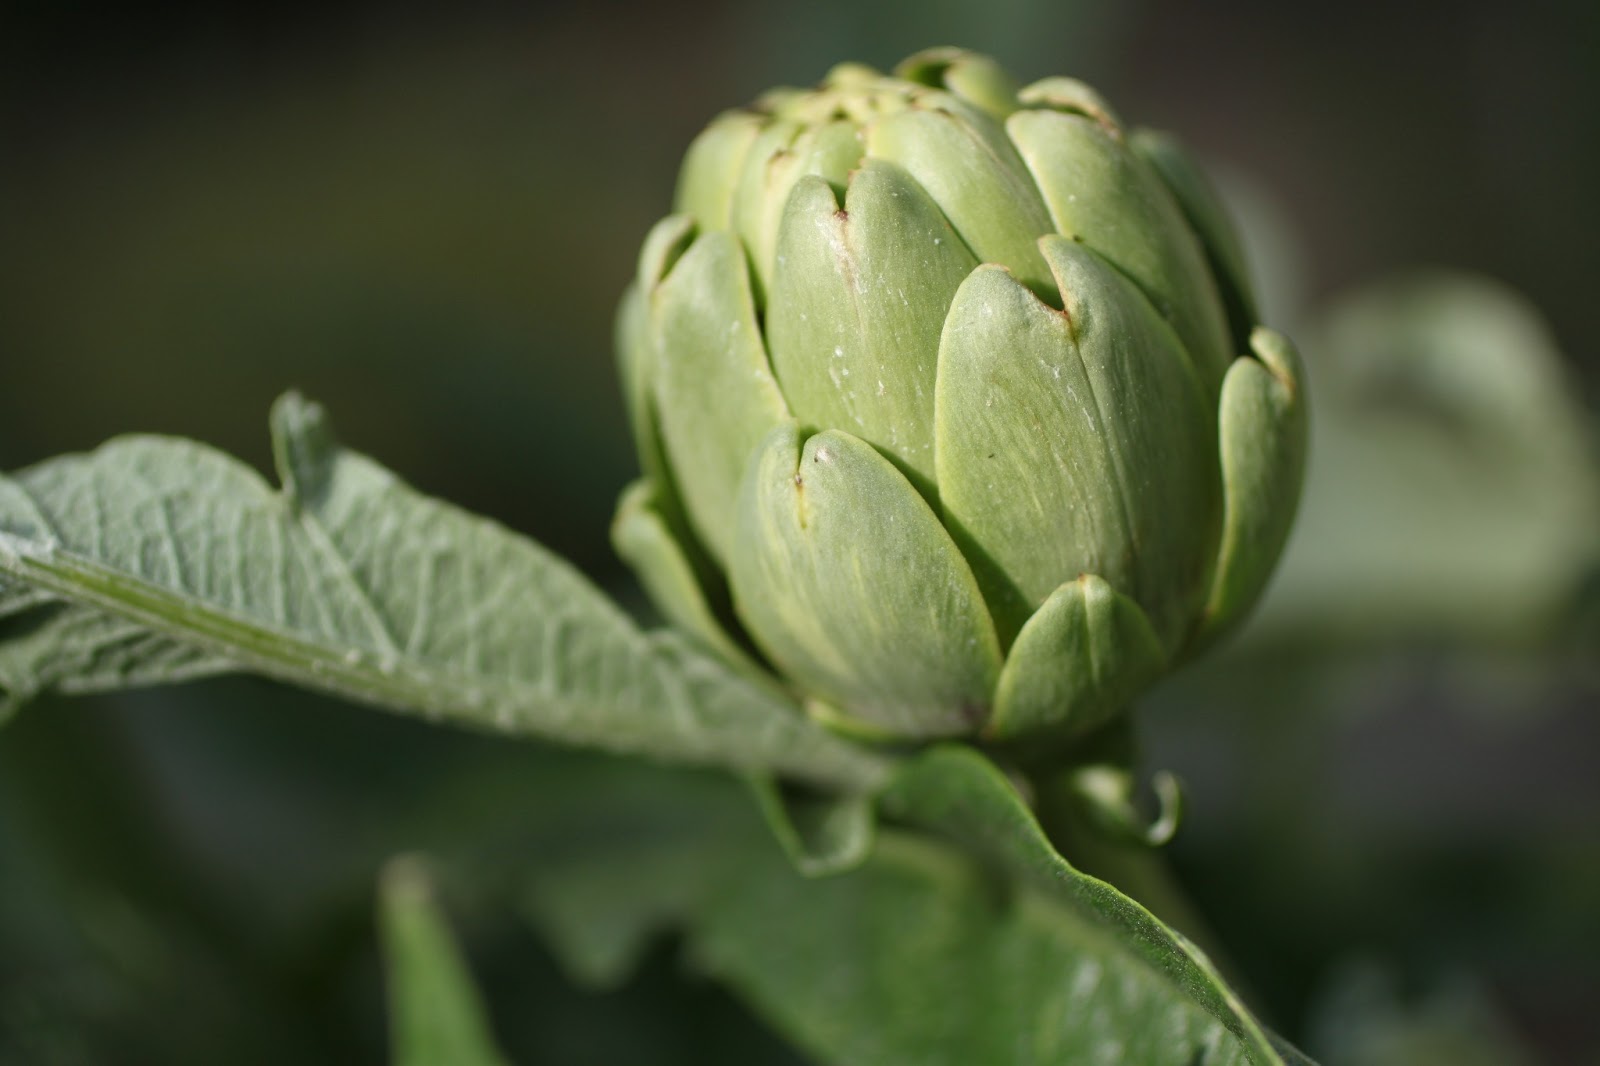
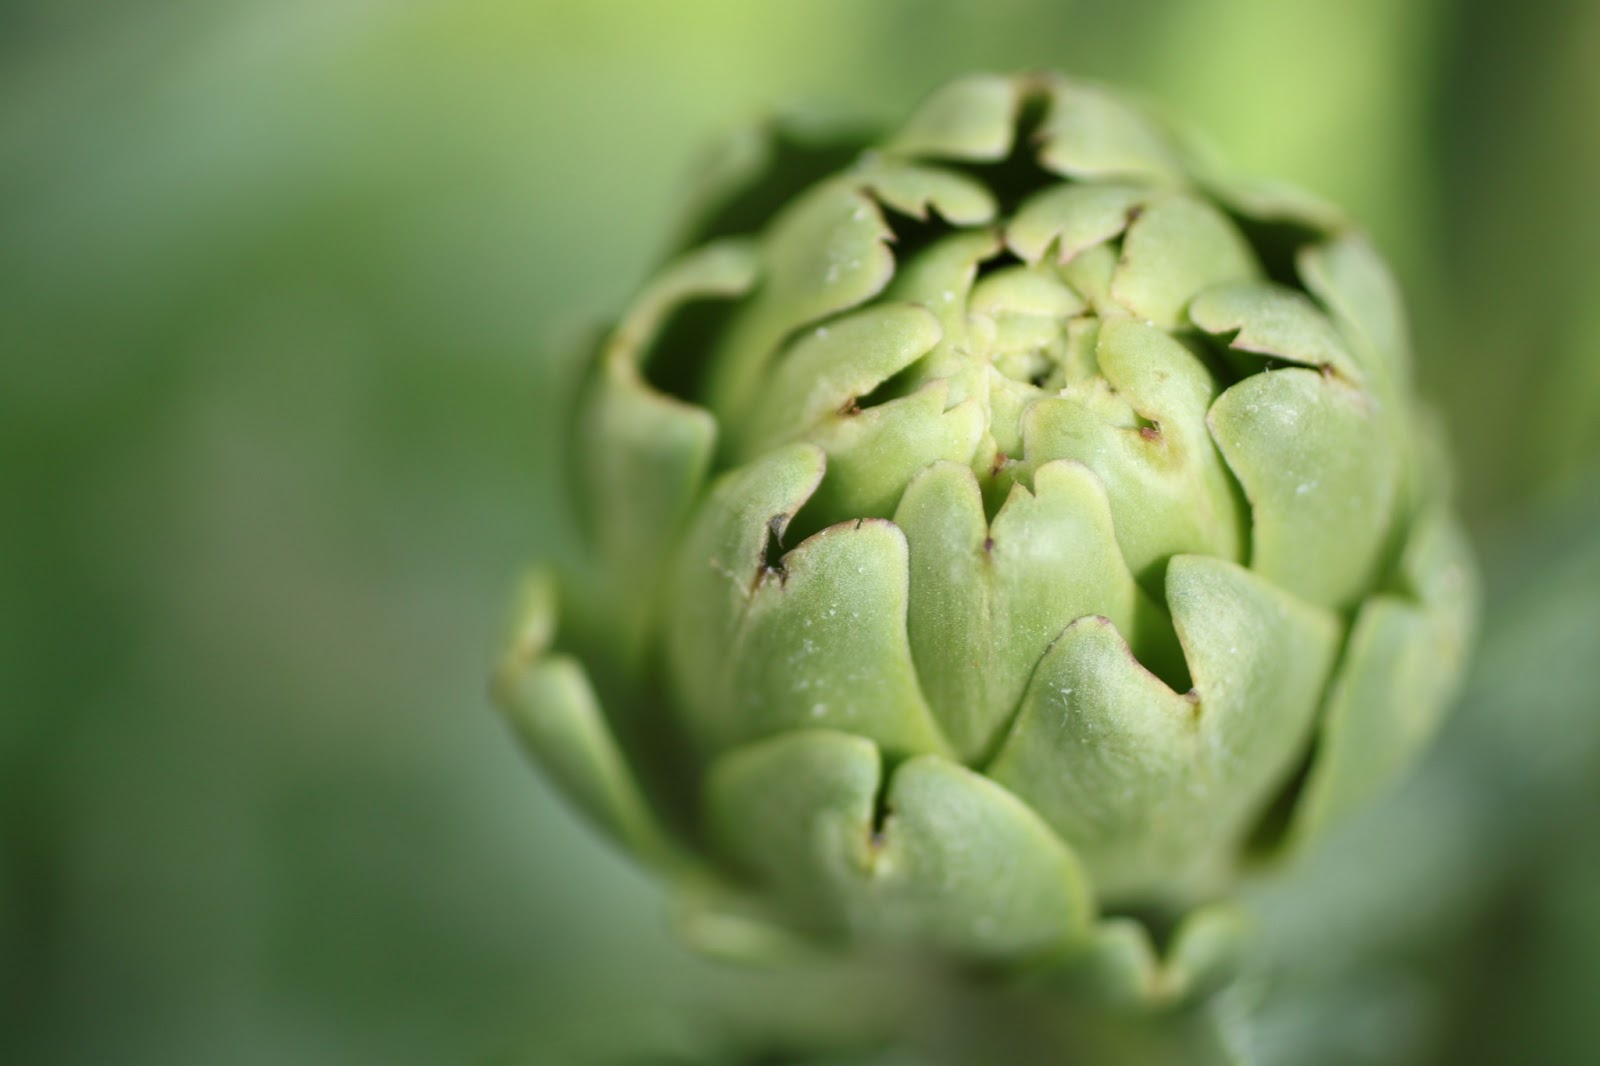
 artichokes are members of the thistle family and if you let the blooms mature, they look like thistle flowers on steroids.

 the flower heads consist of leaves with a tiny thorn on the end of each one.  the thorns must be trimmed away before eating.

 each main flower is located on the end of the branch but each leaf on the branch also develops a side bloom.
 since we do not use any chemicals on our vegetables, they needed a good cleaning.  i soaked the trimmed heads in salt water to help flush out the critters.

 to fill the centers, i mixed up some plain bread crumbs with fresh parsley, salt, pepper and a little granulated garlic.  after combining this, i added a little olive oil to moisten it and then filled the centers.  to make it worth the effort, i packed it in there as best as i could.

 to cook them, i placed them in a pot with about an inch or so of vegetable stock and let them simmer, covered, for an hour and a half.  to keep them moist, i replenished the vegetable stock as it reduced.

they are done when you can pull a leaf out easily-pull one half way between the top and bottom towards the middle of the choke to get the best idea.  taste it, it should be creamy and soft not at all chalky or astringent.  now for the hard part, waiting for more to grow...