Thursday, January 2, 2014

holiday cookie round up: coconut spritz

several years ago, i scored this vintage cookie press on ebay.  it has lots of disks to make many shapes.  the box is in nice shape too and even has the original price on it, $3.95.  try and find a new set this nice for that price.  i love the trigger action, it works perfectly.  the only advice i can give you, press them directly onto the sheet pans; do not use paper or grease the pans!  the reason, the cookies will not separate from the gun and you will find yourself getting rather irritated when you have to peel each one off and put it on the pan...yes, that is experience talking.

for my batch, i decided to make them coconut flavored.  to do this, i used coconut oil in place of the butter and because it seemed a little on the dry side, i also added a few tablespoons of unsweetened coconut milk.  if you would like to try mixing up a batch, try this recipe from the joy of cooking, it is the base recipe i started with and then made the substitutions.

when i switched to pans without paper, it was quick and easy to pump out the cookies.  to make it even easier, i used the same pattern for all of the dough.

each pump of the trigger releases the exact amount of dough for one cookie.

because i also added a little coconut milk to the dough, they spread out a bit.  the combination of coconut oil and coconut milk gave nice flavor and brought back childhood memories of danish butter cookies.

each christmas, my grandfather would bring us a tin of (store bought) danish butter cookies.  the different shapes and varieties were stacked separately in the tin using large fluted paper muffin cups.  one of my favorites was always the coconut bars.  they were rectangular in shape with grooves across the top.  these were also some of the last to go-apparently, i was the only one who liked them.

Wednesday, January 1, 2014

holiday cookie fest round up: amaretti

growing up in an area where italian foods are common, finding amaretti is easy.  i can hardly remember a holiday season when i didn't see the red tins stuffed full of these paper wrapped almond cookies.  these memories served as my inspiration when i chose the recipe from carol field's book, the italian baker.

they mix up quickly and honestly, you will wait longer for them to bake.  they bake at a low temp, 300, then sit in the oven with the heat off to finish drying out.  they are meant to be crunchy but will melt in your mouth.

red and green paper make them so festive, perfect for giving as gifts.

the secret to the batter, getting the egg whites whipped to the proper consistency.  it should be a little droopy and shiny, more whipped than marshmallow cream but not as stiff as a meringue topping.

to portion the cookies out, i used a small scoop.  i wasn't looking for perfect mounds and did not mind the uneven shape.

somehow, these little cookies may have taught me a thing or two about making macarons.  just look at the feet on these things!  these were a favorite among all who received them and i will be making them again next year.

the recipe is posted online at cookinglight.com and can be found with this link .  both versions of amaretti cookies found in carol fields book, the italian baker are posted.  to make these cookies, i used the first recipe.

Tuesday, December 31, 2013

holiday cookie round up: biscotti

each holiday season, i make cookies, lots and lots of cookies.  it is a tradition in our house to make all kinds of cookies and give them as gifts.  for my mother, i make apricot biscotti and if i can, i dip them in white chocolate.  they turned out beautifully this year.  the biggest surprise is that i actually did the dip by hand-no tempering machine since mine is out of commission until i can replace the probe.

for the round up, each day this week, i will be posting photos from a different batch of cookies that i baked for the holiday.  if recipes are available, i will include them or links to them.  each day this week, i will post photos from a different batch of cookies that i baked for the holiday so be sure to visit daily!

biscotti are such and easy cookie to make.  they mix up quickly and are easy to shape.

divide the dough into as many pieces as you like and stretch it out to form a log.

once you have the length of the log, work on getting the width and the thickness-it is best if the log is uniform in shape and thickness so that it bakes evenly.

bake them and let them cool completely.  contrary to what most recipes tell you, biscotti will slice cleanly and perfectly after the first bake only if you let them sit for 4-6 hours or even overnight.  the moisture within the log has time to distribute and soften the outer crust.  that way, you can slice them with a serrated knife and not have them crumble or break.

perfect slices with a light dip of pure white chocolate

all ready to be packed up and shipped to mom

for the rest of the family, i make something chocolate.  this year, i made marbled almond biscotti.

just like the apricot biscotti, the dough is portioned out.  the two doughs are stacked and are now ready to make marbled logs.

using a little cold water on my hands to prevent the dough from sticking, i stretch and pinch the balls of dough to make the logs.

before going into the oven, the are shaped so that they are an even width and thickness.

the layers remain separate and form lovely patterns in the sliced logs.

using my old ruler, i mark the logs every 3/4" so that the biscotti are uniform in size.  

marbled dough is a favorite of mine.  no two ever come out the same.

hard to believe that the holiday season is coming to a close.  in the blink of an eye, it was the day after christmas...to see the rest of the cookies i made this year, check back.  i will be posting photos all week.

Tuesday, December 17, 2013

gingersnaps; tuesdays with dorie

 this week, we tackled gingersnaps.  fitting choice given the season.  truth is, i love gingersnaps and gingerbread and will make either one at anytime in the year.  since gingersnaps are a favorite of mine, i was eager to try this recipe which was contributed by david blom and to see it, this is the link.

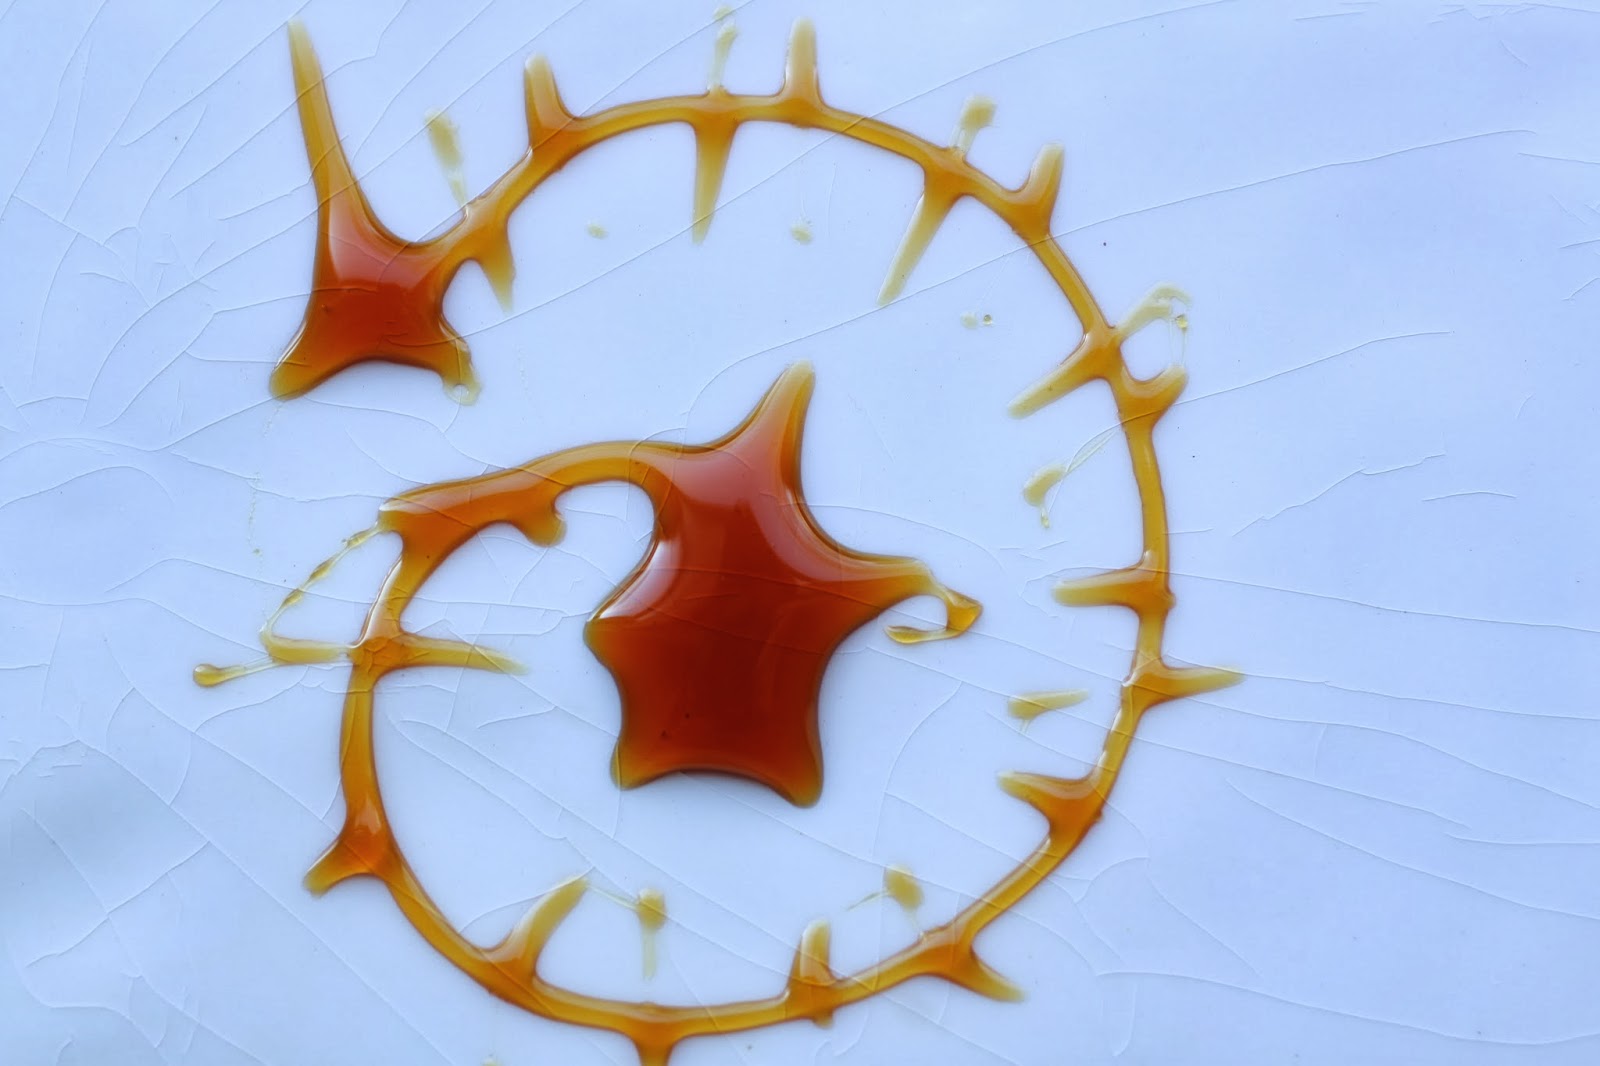
as always, i made a few changes to the recipe.  first of all, i very rarely use molasses.  how can that be you ask?  well, i live in the south and around here, we use sorghum.  so what's the big deal about sorghum?  it tastes better than molasses and it is a pure product meaning that it is just sorghum syrup that is extracted from sorghum cane and cooked down.  no chemicals, no refining, nothing, just sorghum.  not familiar with sorghum, read a few facts about it here.  and for those of you with a diy fetish, here is an interesting article on just that, making your own sorghum.

 what other changes did i make to the recipe?  well, for starters, i added a whole lot more spices.  i quadrupled the ginger, doubled the cinnamon and added garam masala, cardamom and cloves to make a nice and spicy dough.  then i reduced the water a bit; i was making a batch that was 4 times the recipe and it would have called for 6 tablespoons of water but i only added 5.  thinking back now, i would reduce it even more, maybe just use 4.

when i roll out cookies, i use wooden dowels that are the exact thickness that i need to help guide my rolling pin and keep it all consistent.  i also brush off as much of the excess flour as possible.

my collection of cookie cutters is on the large side.  in the bins are several hundred shapes to choose from.  since these cookies are going to a christmas party, i chose a holly leaf, it was 2"x3" and with a batch of dough that was quadrupled, i ended up with just over 60 cookies.

 the recipe was a bit unusual for gingersnaps.  it did not include any eggs and when the cookies were cut, they got a glaze made of molasses and water before going into the oven.  the recipe for the glaze could easily be cut back, i had a lot left over but again, i did multiply the recipe.  if you do the same, cut the glaze in half.  if you just prepare the recipe as it is, make the full amount.

 and just because i could, i gave the cookies a sprinkle of sanding sugar before they went into the oven.  no such thing as too much sparkle on a gingersnap.

the cookies took longer in the oven than the recipe called for.  a lot longer and about double the time if not a little longer.  considering that i made them only slightly larger than the recipe called for and that i baked them at 350 rather than 325 (because i didn't read that...), i was surprised at how long they took to become "almost firm" in the oven.  the other surprising fact is that i had also reduced the water.  the cookies were a little on the soft and flexible side and once they finally baked, they were really hard once they cooled off.  those with sensitive teeth may want to dunk them first...

 perfect with a cup of hot tea or coffee, feel free to do just that, dunk them if you like.

 after a hectic couple of days at work, it was nice to come home and bake a batch of cookies.  it was well worth the time i spent that afternoon, almost comforting.

 as the afternoon sun slowly sank, the light changed in the room.  it seems that all of the classes and workshops i have taken suddenly came together in one quiet afternoon in my dining room.  the light became the focus, not the cookies.

 the magic hour.  you can see the shift in the light by looking at the top left corner of the photo.  suddenly, the pink/gold of sunset was creeping in.


this light is fleeting.  you must be just as quick to capture it.  here it glides across the pan from left to right.

 and now, it has moved.  so quickly the color changes.  

 and changes still.  the mood of the photo has changed as well.  

would i make these again?  meh...maybe.  with changes.  less water, no glaze.  love that they are made without eggs and could easily be a vegan recipe by switching the butter to a non-hydrogenated shortening, a vegetarian butter or coconut oil.  honestly, i have a wonderful gingerbread recipe and a damn good ginger snap recipe already so the likelihood is slim.  but that vegan factor will keep them on the maybe list.  to see how the other tuesdays with dorie bakers did with this recipe, visit the website.  to bake along with us, pick up a copy of the book and, register at the website and start baking!  the book can be found easily, it is still in print.  try bookstores, online, your local library or a friend.  whatever you do, just bake...


Sunday, December 15, 2013

a first time for everything: pizzelles

 a while back, at least several years ago, i purchased a pizzelle iron on ebay.  it was a whim, i cannot explain it.  actually, i was working on a proposal for a book on cookies.  the proposal got shelved and so did the iron.  this summer when i began working on the closet transformation, i found it again.  it was time to use it or lose it.

the iron came without any information.  it also came without the wooden handles that slip over the metal rods.  turns out, i didn't need them-the wooden handles that is, the directions would have been helpful.  the first batch i tried was disastrous, it went into the trash, immediately...

although i was determined to get it right, i wasn't sure where i could find the tips and tricks i would need.  no one in the italian side of the family made these, at least i do not recall anyone ever making them.  they were never part of any family celebration around easter or christmas, the traditional holidays they are served.  at a bit of a loss, i told my husband about my complete failure with the first batch.  he looked at me and asked "did you look for a video on you tube?  you need to watch someone who knows how to make them?"  damn, i hate it when he is right...

there we were, 8am on a sunday morning, sipping our coffee and watching pizzelle videos...there aren't that many good ones to watch.  in most of them, an electric counter top maker was used.  my iron is a stove top iron and i needed some help!  we found a little encouragement by watching this video, i suggest you watch it without the sound once the music starts, it is annoying at best.  however, they were using a cast iron/aluminum mold and i finally got to see a little of what i needed to know to be able to use it.

it wasn't until i went to fante's website that i actually learned all i needed to know about making a pizzelle.  fante's is a business in the philadelphia area that specializes in cookware and apparently, italian cookware is a large part of what they sell.  as i scrolled through the website reading all i could, i saw a link to an external site.  it seemed a bit odd that they would have the link right smack in the middle of the page.  even odder was that it went to a woman's blog, a woman with a non-italian name, i clicked anyway out of curiosity.  it was here on leslie mann land's website that i finally found out how to make a pizzelle using her exact recipe and instructions.  sadly, leslie lost her battle with breast cancer in august but the website is still up and will be maintained as a reference tool, and a good one at that.  to read about leslie, who was apparently a food writer and a former employee at chez panisse way back in the day, click on the links in the most recent post, it contains additional links to several obituaries.

 anise seeds are a traditional favorite and you will find them in many italian cookie recipes.

 first tip from leslie, the eggs and sugar need to be whipped to the ribbon stage.  easily done with a kitchen aid mixer! she described the batter as needing a consistency of "thick whipped cream" which did not make sense to me:  there are so many stages of whipped cream!  for me, the better way to describe the consistency is to say it is like that of a choux paste.  it is thick, but it is also soft, not stiff.  her instructions call for mixing the batter and letting it sit for 15-30 minutes.  i let it go about 15, then began heating the iron.

 she also preferred to use melted butter to brush the iron.  now, so do i, it tastes much better than oil or cooking spray.

 the iron needed a good 5 minutes on each side over medium flame to get hot.  a drop of water should almost dance, is how leslie described it.

 the batter went in and oozed a little out the sides each time i made one.  that is the sign of a homemade pizzelle-each one is a slightly different variation of the design due to the position of the iron on the stove and the amount of batter you put in it.  gravity...and heat

 the first couple were a loss.  i needed to first get the iron seasoned and the temperature/batter amounts correct.  they had to be scraped and picked out of the iron-tiny little pizzelle shards...for the batter amount, i determined that it had to be at least a full tablespoon and that was best regulated by the use of a portion scoop, a purple #40 scoop to be exact.

 finally, i saw a sign of hope.  one came out of the iron in pieces, but they were large pieces.  cue up the disco music, i can hear cece peniston...finally!  okay, that is a little weird, singing and dancing about a pizzelle iron but i did!

 because suddenly, they looked like this.  by the time i got going, the iron was perfectly seasoned and they pretty much fell out.  in one piece.  looking a bit like anise flavored cookie snowflakes.

then it was time to clean up and get back to the work of making the rest of the christmas cookies.